Post-Processing Magic: Editing Techniques for Stunning Images

Understanding Post-Processing: What It Is and Why It Matters
Post-processing is the art of refining your images after the initial capture. It's where your photographs transform from good to stunning, allowing you to express your artistic vision fully. Think of it as the final touch on a canvas; without it, the artwork can feel incomplete.
Photography is the story I fail to put into words.
Many photographers underestimate the power of post-processing, believing that a great shot needs no enhancement. However, even the best images can benefit from adjustments to exposure, color balance, and sharpness. This process helps to highlight the subject and convey the mood you want your audience to feel.
Related Resource
By embracing post-processing, you gain control over the narrative of your image. It’s not just about correcting flaws; it's about enhancing the beauty that already exists in your photo. In the following sections, we’ll dive into various techniques that can elevate your images to new heights.
Essential Editing Software: Choosing the Right Tools
The first step in post-processing is selecting the right software that fits your needs. Popular options include Adobe Lightroom for its user-friendly interface and Photoshop for its advanced features. Each program has its strengths, so consider what you want to achieve with your edits before making a choice.
For beginners, Lightroom is often recommended due to its intuitive design and robust library management capabilities. It allows you to organize your images while providing essential editing tools like exposure adjustments and color correction. On the other hand, Photoshop is perfect for those looking to delve deeper into more complex edits, such as layer manipulation and retouching.
Post-Processing Transforms Images
Post-processing is essential for refining photographs, enhancing their beauty and conveying the desired mood.
Ultimately, the best software is the one that aligns with your workflow. Don't hesitate to experiment with different tools until you find the one that feels right. Once you've selected your software, you're ready to start transforming your images!
Basic Adjustments: The Foundation of Editing
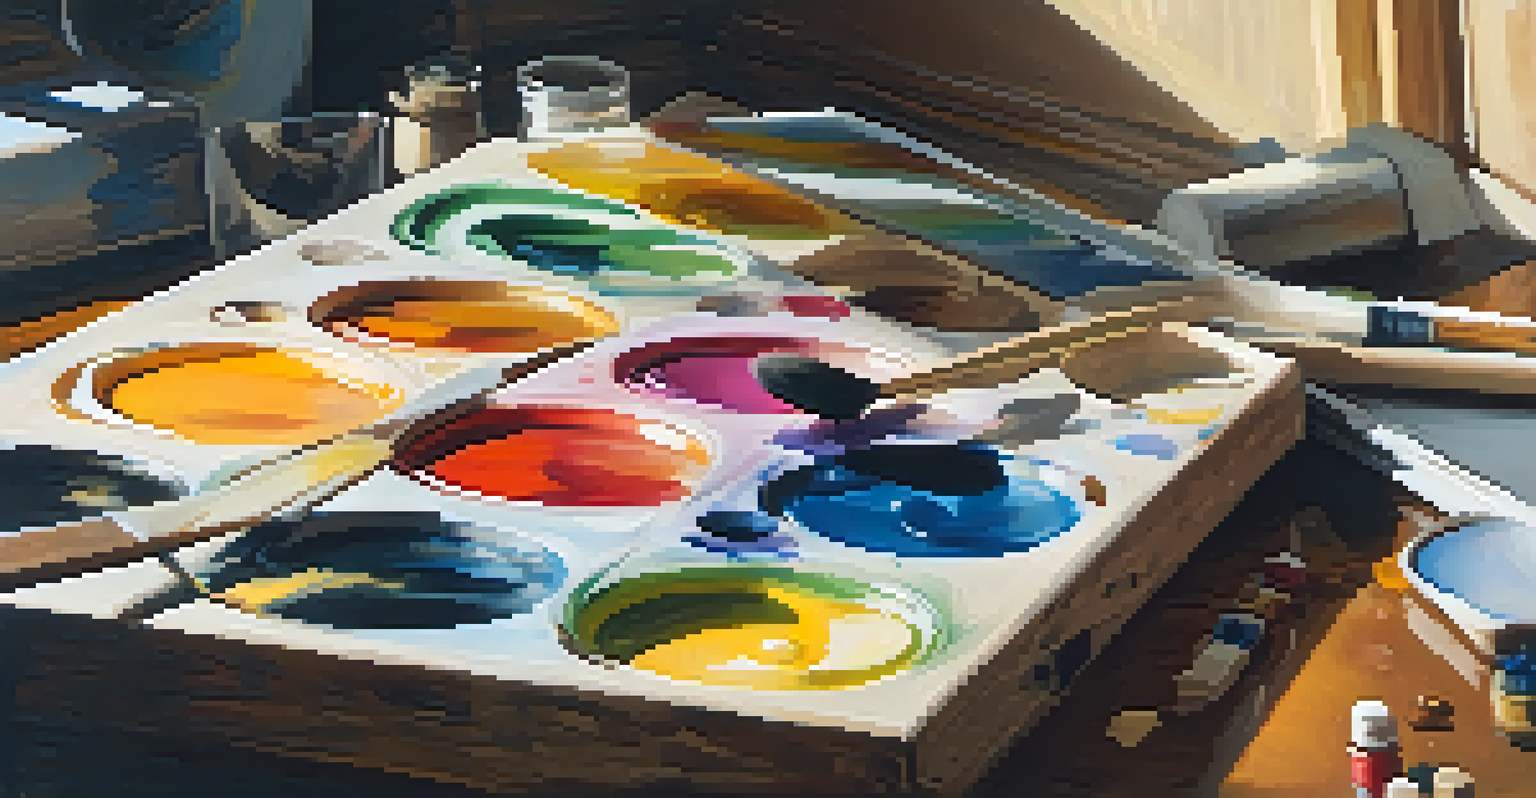
Every great edit begins with basic adjustments, which set the foundation for your image. These include cropping, exposure, contrast, and white balance. Think of it as preparing the canvas before painting; these small tweaks can make a significant difference in how your photo is perceived.
The best camera is the one you have with you.
For instance, adjusting exposure can brighten or darken your image, while contrast can help your subject stand out against its background. Cropping not only improves composition but can also eliminate distracting elements that detract from the main focus. White balance ensures that colors appear natural, preventing any unwanted color casts.
Related Resource
These foundational adjustments are crucial, as they enhance the overall quality of your photo. By mastering these techniques, you’ll be equipped to create a more polished and professional-looking image.
Color Grading: Adding Mood and Depth to Your Images
Color grading is where the magic truly begins in post-processing. This technique involves adjusting the colors in your image to evoke specific emotions or moods. Just like a painter chooses their palette, you can manipulate colors to tell a story or create a particular atmosphere.
Using tools like saturation and hue sliders can help you achieve the desired effect. For example, a warm color palette with reds and oranges can evoke feelings of warmth and comfort, while cooler tones may create a sense of calm or melancholy. Experimenting with these adjustments allows you to find the perfect balance that resonates with your style.
Choose Software That Fits Your Needs
Selecting the right editing software, like Lightroom or Photoshop, is crucial for achieving your specific editing goals.
Moreover, color grading can help maintain consistency across a series of photos. Whether you’re working on a personal project or a professional client shoot, achieving a cohesive look enhances your portfolio and strengthens your brand identity.
Sharpening and Noise Reduction: Enhancing Image Quality
Sharpening and noise reduction are essential techniques that can dramatically improve image quality. Sharpening enhances the details and edges in your photo, making it appear crisper and more defined. However, it's crucial not to overdo it, as excessive sharpening can create unwanted artifacts.
On the flip side, noise reduction helps to smooth out grainy areas, often caused by shooting in low light conditions. This process is especially important for night photography or images taken at high ISO settings. By reducing noise, you can maintain the clarity of your image while ensuring it remains visually appealing.
Related Resource
Striking the right balance between sharpening and noise reduction is key. By mastering these techniques, you'll ensure your images not only look professional but also convey the quality that you strive for as a photographer.
Creative Effects: Adding Flair to Your Edits
Once you’ve mastered the basics, it’s time to have some fun with creative effects! These can include adding vignettes, film grain, or even textures to give your images a unique touch. Think of it as accessorizing an outfit; the right details can elevate your work and make it stand out.
For example, a subtle vignette can draw attention to the center of your image, creating a sense of depth and focus. Film grain can evoke a nostalgic feel, reminiscent of vintage photography. Textures can add an additional layer of interest, making your photo feel more dynamic and engaging.
Master Basic Adjustments First
Basic adjustments such as cropping, exposure, and white balance form the foundation of effective photo editing.
Experimenting with creative effects allows you to express your personal style and differentiate your work. Just remember to use these techniques sparingly; the goal is to enhance, not overwhelm. With a little practice, you’ll find the perfect balance that reflects your vision.
Final Touches: Preparing Your Images for Sharing
After all the editing, it’s essential to add those final touches to prepare your images for sharing. This includes resizing, exporting in the right format, and ensuring that your images are optimized for the platform you’re using. Think of this step as the finishing polish that makes your work shine.
When exporting, consider the intended use of your images. For social media, you might want to save them in JPEG format with a resolution that balances quality and file size. If you're preparing for print, a higher resolution TIFF file may be more appropriate to ensure clarity and detail.
Additionally, don’t forget to watermark your images if you're sharing them online. This not only protects your work but also helps to promote your brand. Once you’ve completed these steps, your stunning images are ready to captivate your audience!