Night Photography: Techniques for Capturing Low-Light Images
Understanding the Basics of Night Photography
Night photography can seem daunting, but it’s all about understanding light. When the sun goes down, the world transforms, and so does your camera's approach to capturing it. Instead of relying on bright daylight, you’ll need to adapt to the low-light conditions, adjusting your settings accordingly.
Night is a world lit by itself.
Start by familiarizing yourself with the exposure triangle: ISO, shutter speed, and aperture. ISO controls your camera's sensitivity to light, shutter speed impacts how long the sensor is exposed, and aperture determines how much light enters the lens. Balancing these three elements is crucial for achieving the perfect shot at night.
Related Resource
As you delve into night photography, remember that practice makes perfect. Experiment with different settings and compositions to gain confidence in your abilities. Each outing will teach you something new about how to navigate the night, helping you capture stunning images.
Essential Gear for Night Photography
To capture breathtaking low-light images, having the right gear is key. A sturdy tripod is your best friend, providing stability to minimize camera shake during long exposures. This is especially important when shooting in dim light, as even the slightest movement can blur your image.
A camera with manual controls allows for greater flexibility in adjusting settings to suit night conditions. While many smartphones have impressive low-light capabilities, a DSLR or mirrorless camera typically offers superior image quality and versatility. Furthermore, using a lens with a wide aperture (like f/2.8 or lower) will let in more light, making it easier to capture details in the dark.
Understanding Night Photography Basics
Night photography revolves around mastering low-light conditions by adjusting the exposure triangle: ISO, shutter speed, and aperture.
Don’t forget additional tools like remote shutter releases, which can help eliminate camera movement, and extra batteries, as long exposures can quickly drain power. Having a flashlight or headlamp can also be helpful for navigating dark environments and adjusting your settings.
Mastering Camera Settings for Night Shots
When it comes to settings, start with a low ISO to reduce noise in your images. Depending on the available light, you might need to increase it, but be cautious, as higher ISO can introduce graininess. A good starting point is between 800 and 1600, adjusting based on the scene and your camera's capabilities.
Photography is the story I fail to put into words.
Next, set a slower shutter speed to allow more light to hit the sensor. This could range from a few seconds to several minutes, depending on how dark it is. Just remember that longer exposures can lead to motion blur, so ensure your scene is still or use a tripod for stability.
Related Resource
Finally, adjust your aperture to balance the exposure. A wider aperture (like f/2.8) will allow more light in, but it also creates a shallower depth of field. This means only a small area of your shot will be in focus, which can be great for isolating subjects but may not be ideal for landscapes.
Finding the Right Location for Night Photography
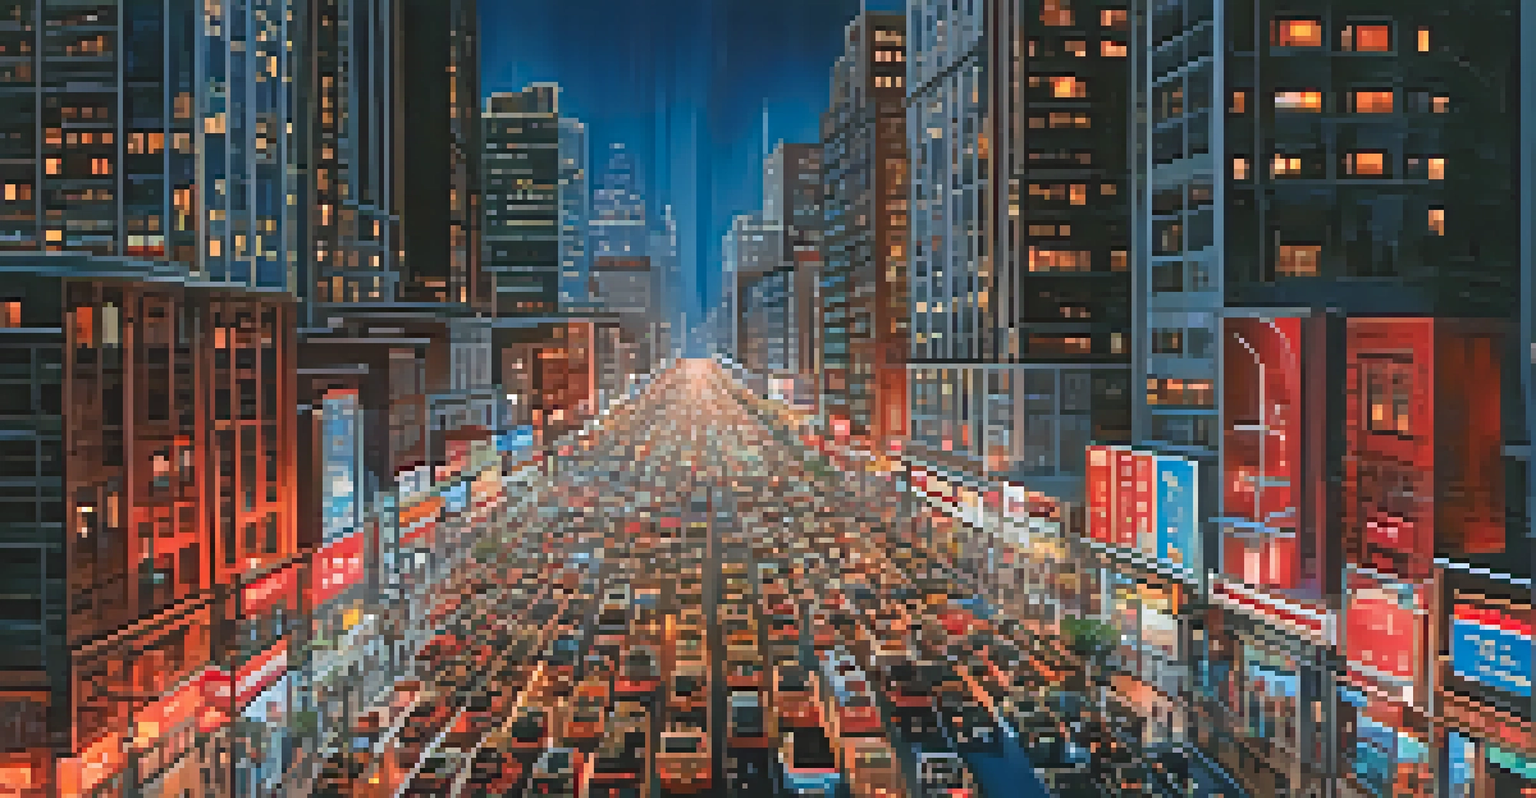
Choosing the right location can make or break your night photography experience. Urban environments often provide vibrant cityscapes filled with lights, while rural areas offer stunning starry skies and natural landscapes. Think about what kind of atmosphere you want to capture and plan accordingly.
Consider scouting locations during the day to familiarize yourself with the area and identify potential challenges, like lighting conditions or accessibility. Nighttime can make it difficult to navigate, so knowing your surroundings can save you time and frustration later.
Essential Gear for Night Shots
A sturdy tripod and a camera with manual controls are crucial for capturing sharp images in low-light environments.
Additionally, look up local events or festivals that might provide unique lighting opportunities. Fireworks displays, holiday lights, or even concerts can add an exciting element to your night photography, giving you creative subjects to work with.
Techniques for Capturing Stars and Night Landscapes
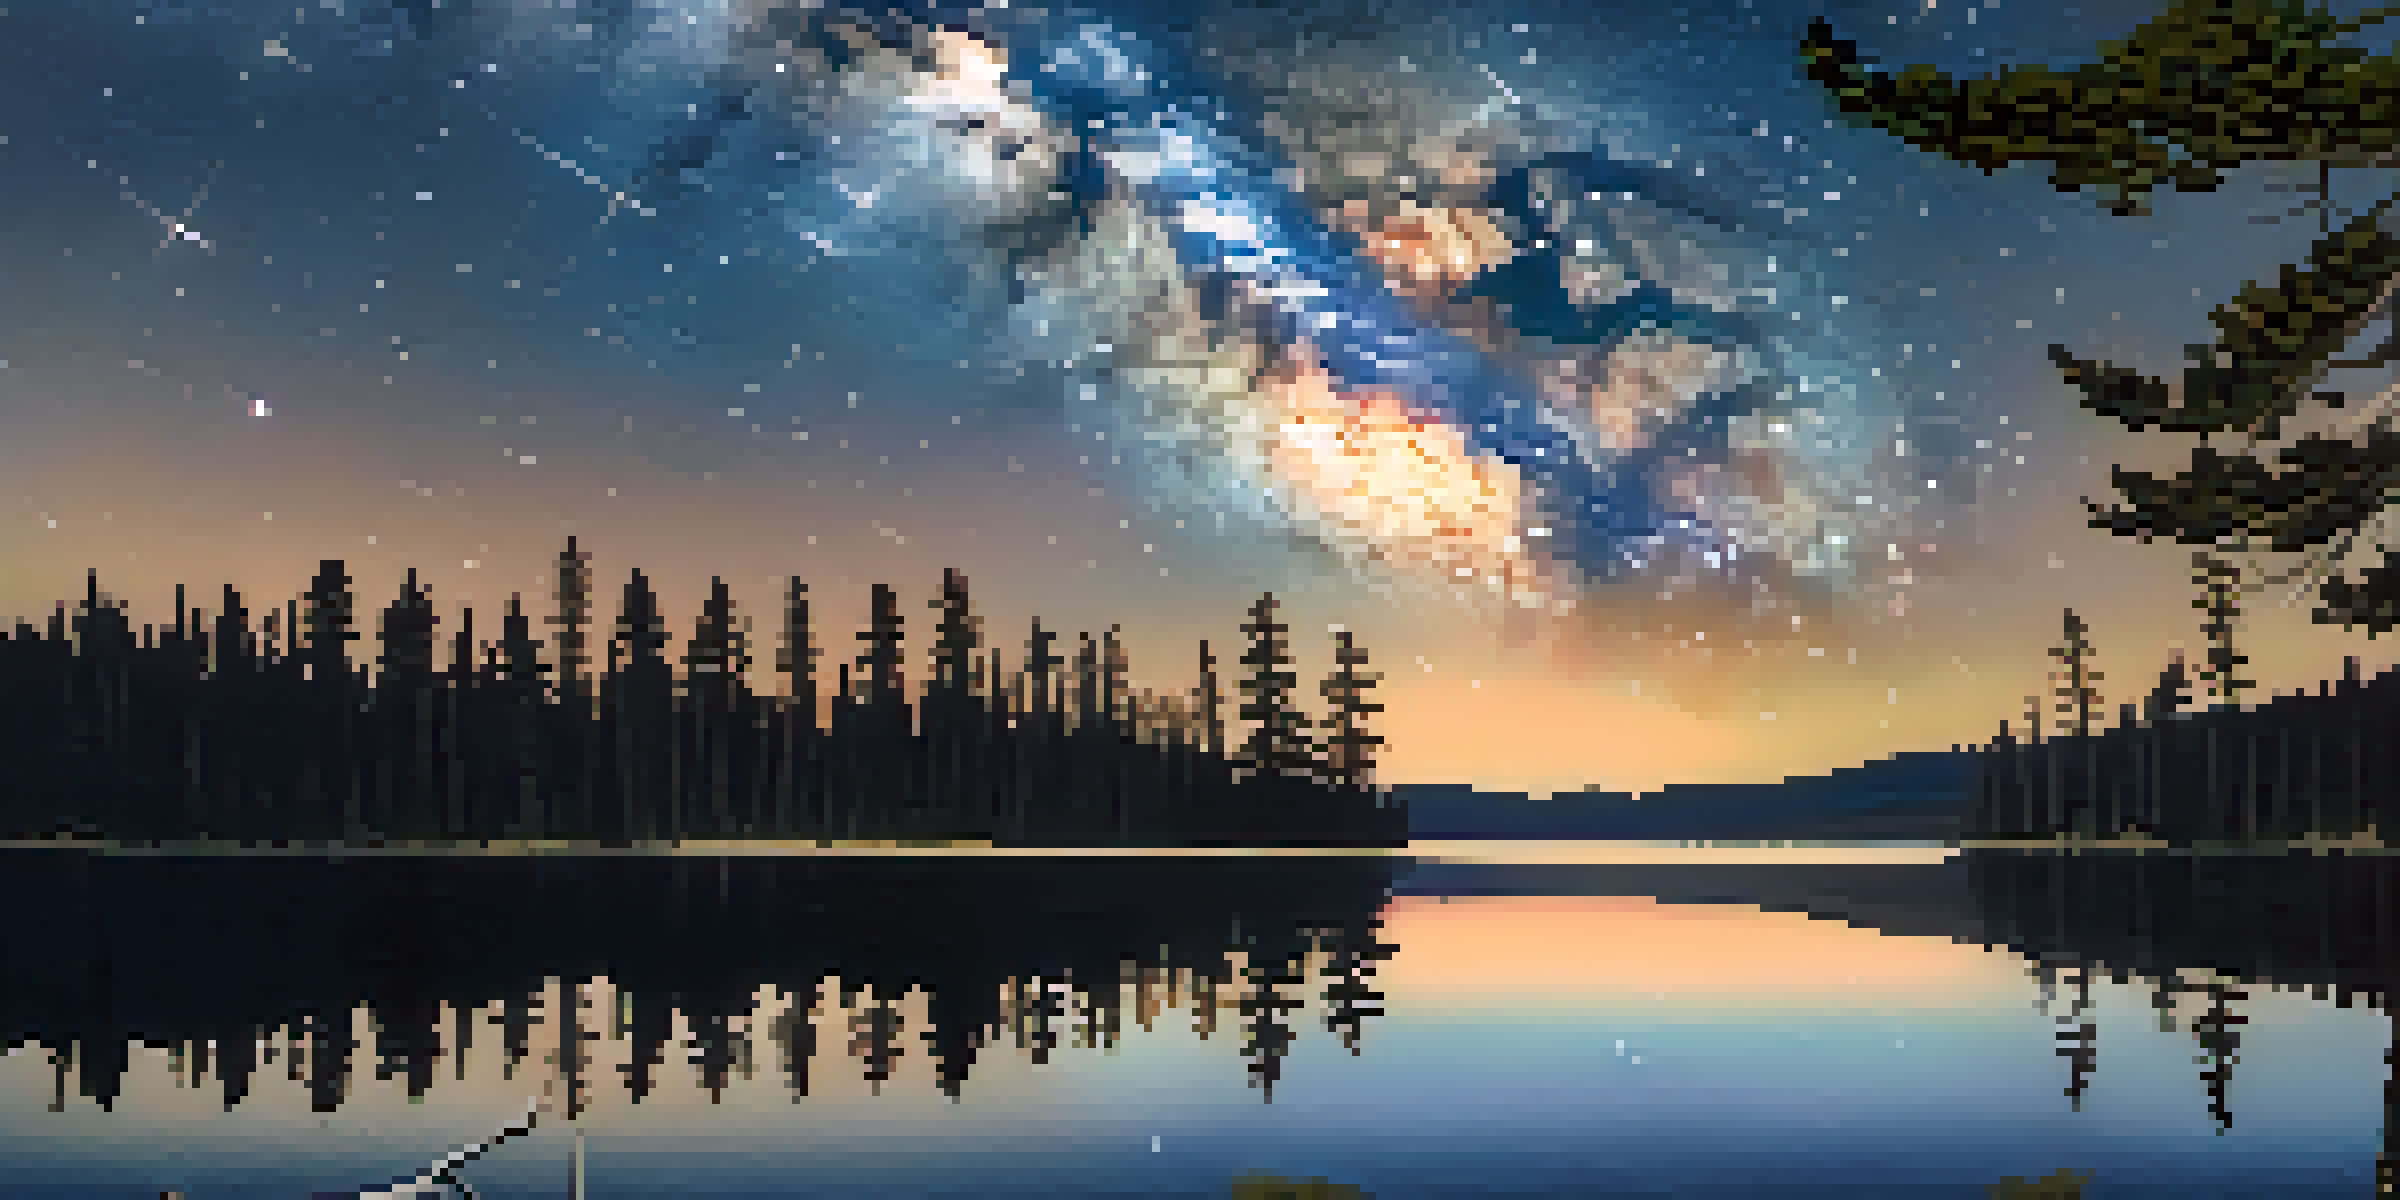
For those interested in astrophotography, capturing stars requires a different approach. Use a wide-angle lens with a large aperture to gather as much light as possible. Long exposures are essential, so consider using the '500 rule' to determine the maximum exposure time without star trails—simply divide 500 by the focal length of your lens.
Finding a location far from city lights is crucial for clear night sky shots. Light pollution can wash out stars, so aim for open areas or dark parks. Often, apps can help you locate the best spots for stargazing based on light pollution levels.
Related Resource
Don’t forget to experiment with foreground elements, like trees or mountains, to add depth to your images. Including these elements can create a more dynamic composition, drawing the viewer's eye into the scene while showcasing the beauty of the night sky.
Post-Processing Tips for Night Photography
Post-processing is an essential step in refining your night shots. Software like Adobe Lightroom or Photoshop can help enhance details and adjust exposure levels that may not have been perfect in-camera. Start by correcting exposure and contrast to bring out the vibrancy of your images.
Noise reduction is another crucial aspect, especially if you shot at a higher ISO. Most editing software has noise reduction tools that can help smooth out graininess without losing too much detail. Just be careful not to over-process, as this can lead to unnatural-looking images.
Creative Techniques for Unique Shots
Experimenting with techniques like light painting and capturing motion can add a dynamic and artistic flair to your night photography.
Lastly, consider adjusting the white balance to convey the mood you desire. Night images can have a variety of color casts, from cool blues to warm yellows, depending on the light sources present. Play around with these settings to find the perfect balance that reflects your vision.
Exploring Creative Techniques for Night Photography
Night photography opens the door to a range of creative techniques that can elevate your images. Light painting, for example, involves using a flashlight or other light source to illuminate parts of your scene while capturing a long exposure. This technique can add a unique artistic flair to your photographs.
Another interesting approach is to incorporate motion into your shots, like capturing car lights as they streak through a scene. This can create a sense of movement and energy, adding excitement to an otherwise still image. Experimenting with different shutter speeds can yield various effects, so have fun with it!
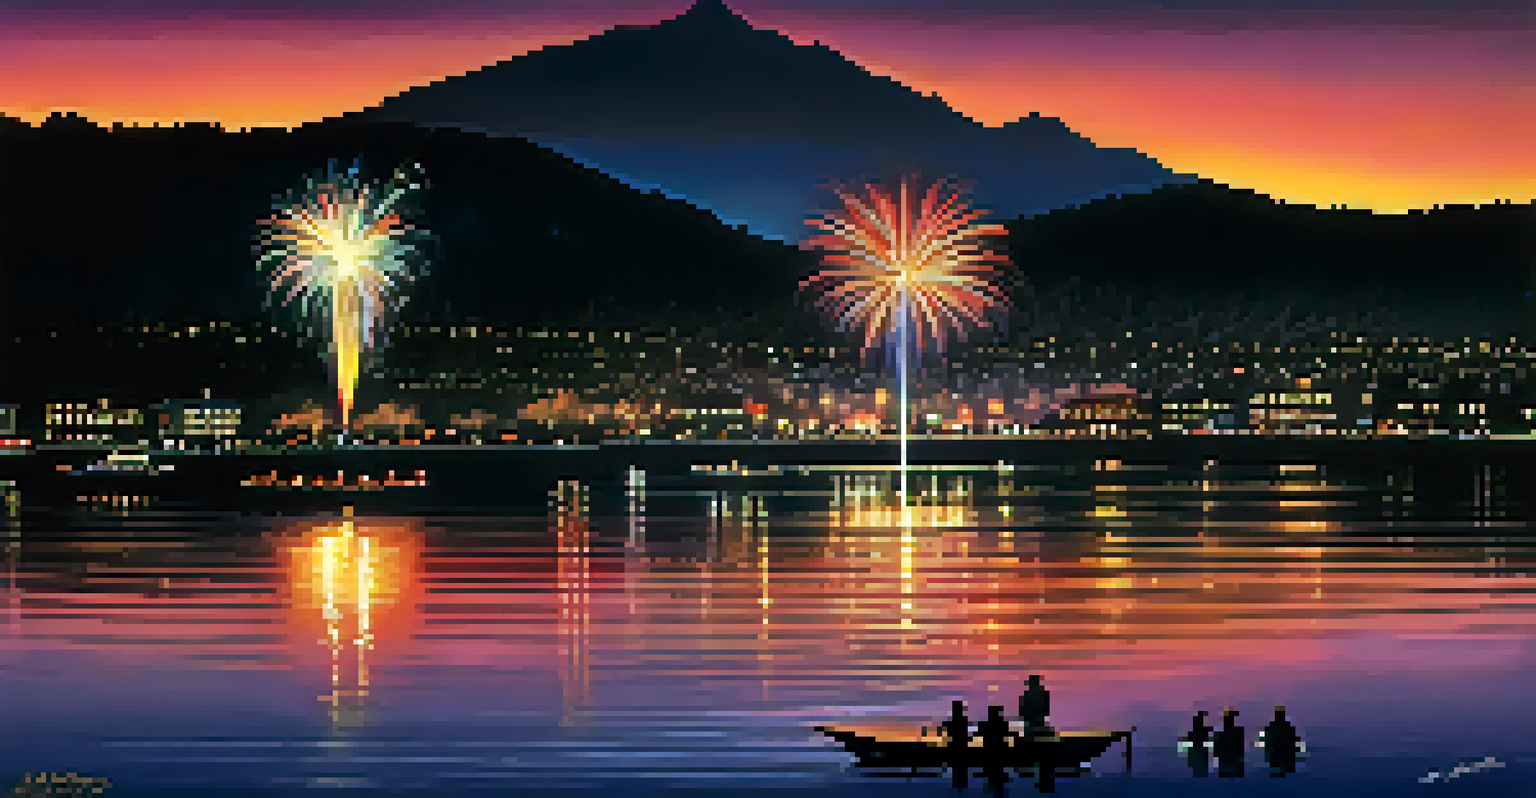
Finally, consider using reflections in water or glass surfaces, which can enhance your composition and create a more immersive experience. Nighttime settings often have beautiful reflections that can add depth and intrigue to your photographs, making them even more captivating.